Happy Thursday, y'all! We have almost made it to the weekend of yet another busy week! Now that the kids are back in school, I really look forward to the weekends!
Today, Pink Cat Studio has some of the cutest digi's you have ever seen being released!! I am totally in full Halloween mode now that all of the Halloween stuff is out everywhere! I have not decorated my house yet for Halloween, but probably end of September I will! It has been very warm (still in the 90's) here until yesterday when we had an arctic blast that brought the high only to the mid 80's!! LOL! Gotta love FL weather!
Ok, back to the important stuff...Here is the cuteness that is now available...
 Melissa's new Blobby images are just too adorable! Ok, so I could not pick which image to use, so I made 3 cards!! Very rare for me to have time, but I was so in love with these images! I used my favorite Halloween DP - Eerie from Basic Grey on all of them.
 The first one up is: Frankenstein Billy.
 'Frank' was colored with Copics and I used some Perfect Plum ink (SU) to sponge around him. He was cut out and layered using Nesties. The sentiment is from a TGF Halloween set from last year. I added some Glossy Accents to his candy pail.
Next up is Frankenstein Blobby!
 OMGosh...I had so much fun on this card! I just love how it turned out! I whipped out my trusty sewing machine (ok, more like walked over to it!) and added some stitching. I also used foam tape to pop up the whole top panel! I used some Pumpkin Pie ink to distress around him too. The image was cut out using my pinking nesties.
 His little pail has some Glossy Accents on it too! This sentiment is also from the same set.
For my final card, I used Witch Lily.
 I was jonesing for some candy corns when I colored her, so I made her look like a candy corn witch! I imagine she is a very sweet witch who hands out lots of candy! I used my Copic ABS to airbrush the gauze-like ribbon layered behind her. It works like a charm - still think my ABS system was one of the best things I ever bought! I cut the panels behind her out with my Nesties and then ran it through the cuttlebug with this embossing folder. I could not decide which piece of this DP I liked best for this card, so I made it a patch-work of all of the ones I liked and used my sewing machine to stitch it together. I love how it turned out! :)
 She has lots of Stickles on her dress! I also added some Orange Copic Atyou pen to her hair in streaks to give it a little shimmer. Glossy Accents was also added to her pail.
Hope you have a great day! :)

 I was jonesing for some candy corns when I colored her, so I made her look like a candy corn witch! I imagine she is a very sweet witch who hands out lots of candy! I used my Copic ABS to airbrush the gauze-like ribbon layered behind her. It works like a charm - still think my ABS system was one of the best things I ever bought! I cut the panels behind her out with my Nesties and then ran it through the cuttlebug with this embossing folder. I could not decide which piece of this DP I liked best for this card, so I made it a patch-work of all of the ones I liked and used my sewing machine to stitch it together. I love how it turned out! :)
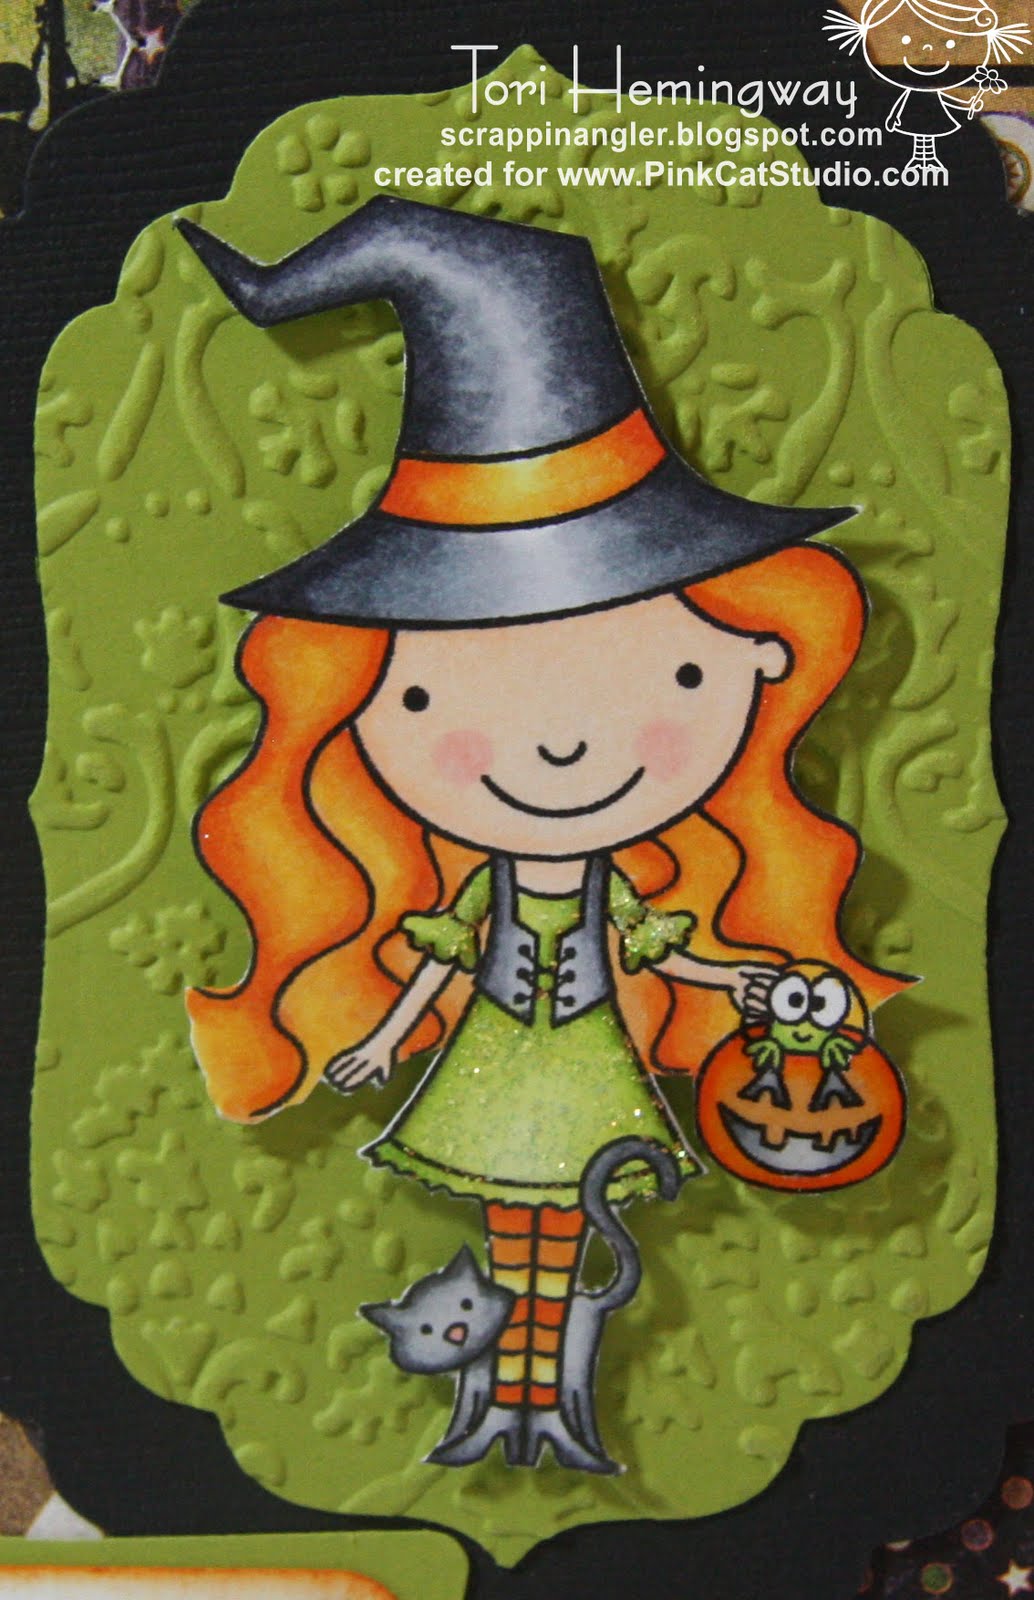 She has lots of Stickles on her dress! I also added some Orange Copic Atyou pen to her hair in streaks to give it a little shimmer. Glossy Accents was also added to her pail.
Hope you have a great day! :)

 I decided to use


 Here is the full card. I just had to tease you with the image up top!